Creating a root cause tree
A root cause tree is a method of problem solving that tries to identify
the root
causes of issues or problems.
NABD allows you to create unique root cause trees for specific problems/issues
that apply to your products. The workflow you have enabled will use this
root cause tree when routing incoming customer requests and issues.
Your root cause tree must include the specific product, category, and
subcategory (you can also include an optional product group). You must
also include what is causing the problem or issue.
To create a root cause tree:
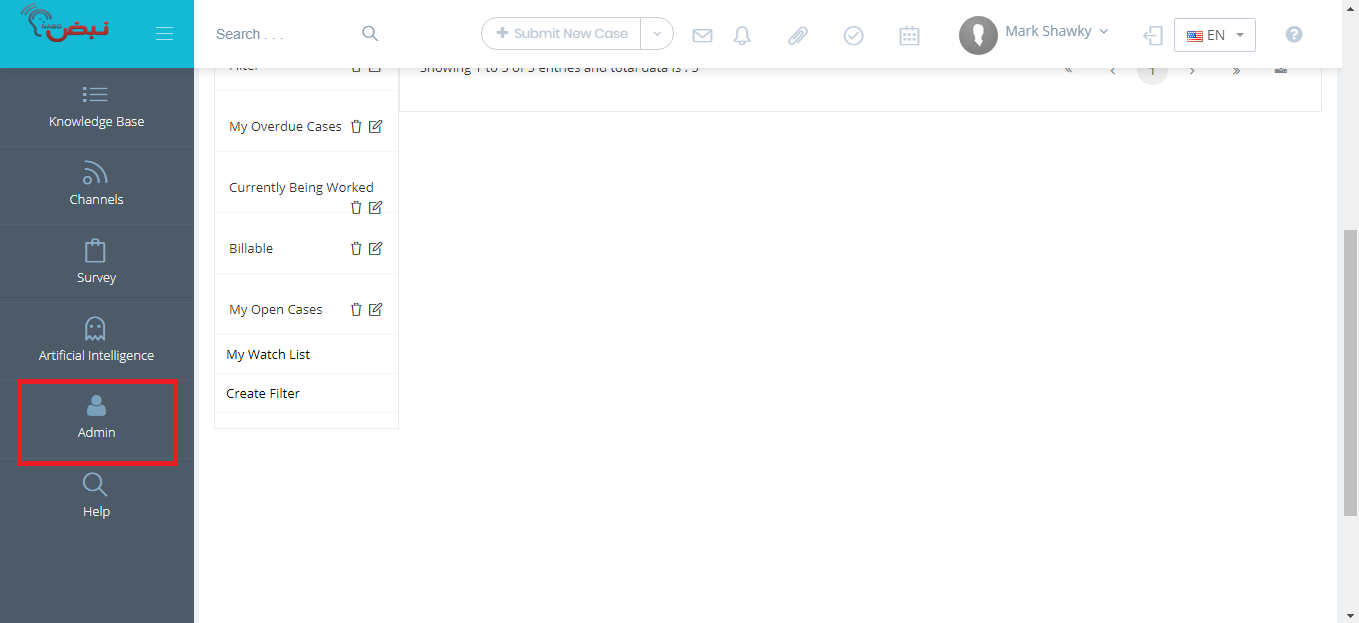
From your left main menu,
select Admin.
From Admin
page ,within Configuration
section.
Scroll to Case
Settings.
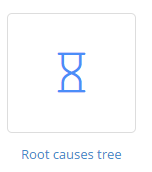
From the Case Settings
menu, select Root causes tree.
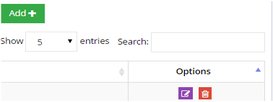
On the Root Cause Tree
page, click Add.
Select the product name
from the drop down. If applicable, select the product group.

Select both the main category
and subcategory from the drop downs.
In the Cause field, type
a detailed reason for this issue. Be as descriptive as possible.
When
you're done, click Save.
To edit a root cause :
From
your left main menu, select Admin.
From Admin
page ,within Configuration
section.
Scroll to Case
Settings.
From the Case Settings
menu, select Root causes tree.
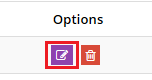
On the main Root causes tree page, click the Edit link (under the Options column).
when you done with the modification, Click Save and close.

This root cause is now updated throughout NABD.
To delete a root cause :
From your left main menu, select Admin.
From Admin
page ,within Configuration
section.
Scroll to Case
Settings.
From the Case Settings
menu, select Root causes tree.
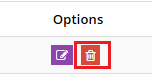
On the main Root causes tree page, click the Delete link (under the Options column).
When prompted, click OK.
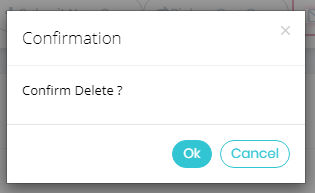
The root cause has been deleted.