Managing your users and user groups
In NABD, users are your individual customer service agents. They are your front line contact with customers – providing support, answering questions, fixing issues, etc.
User groups organize your users (agents) into teams based on subject matter expertise (such as Marketing, Support, or Sales). Users can belong to one user group or many depending on your individual needs and the skills of your users.
From the main User group page (Security>User group), you can:
To create a user group:
-
From your left main menu, select Admin.
-
From Admin page ,within Security section.
-
From the Security section, select User group.
-
On the main User group page, click Add.
-
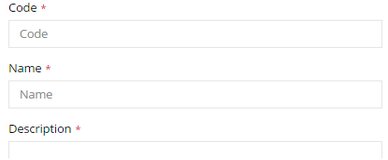
On the next User group page, enter the user group code.
-
Type a name for the user group.
-
Type a description for the user group.
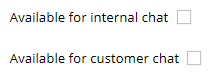
- you can either make the user group available for internal chat or customer chat.
-
If you're done, click Save and close.
Your new user group has been added and now you can add users to this group.
To add a user to a user group:
-
From your left main menu, select Admin.
-
From Admin page ,within Security section.
-
From the Security section, select User group.
-
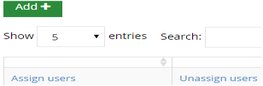
On the main User group page, click the Assign users link (under the Options column).
On the next window, select the user you want to assign to this group by checking the corresponding Select box on the right side:
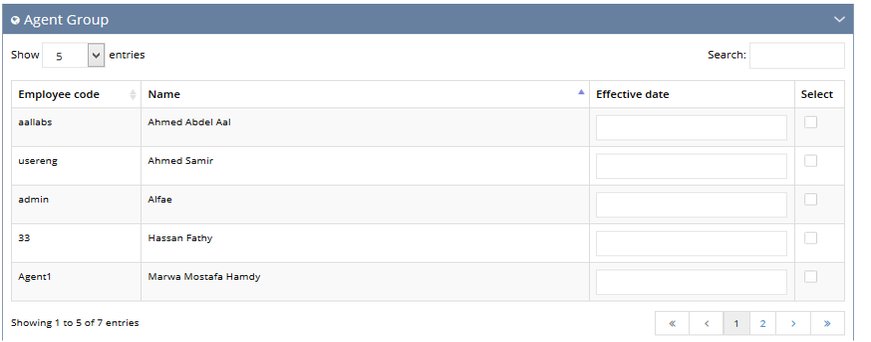
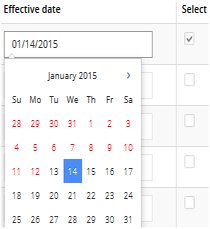
Select the effective date for the user to join this group from the calendar:
-
Once you've finished selecting users, click the Assign users button.
-
Click OK when prompted. This user has been added to the user group.
Deleting users from a user group/deleting a user group
To remove a user from a user group:
-
From your left main menu, select Admin.
-
From Admin page ,within Security section.
-
From the Security section, select User group.
-
On the main User group page, click the Unassign users link (under the Options column).
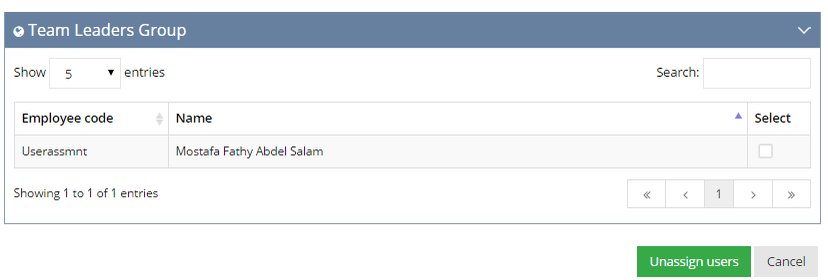
On the next window, select the user you want to remove from this group by checking the corresponding Select box on the right side:
-
Once you've finished selecting users, click the Unassign users button.
-
Click OK when prompted. This user has been removed from the user group.
To delete a user group:
-
From your left main menu, select Admin.
-
From Admin page ,within Security section.
-
From the Security section, select User group.
-
On the main User group page, click the Delete link (under the Options column).

-
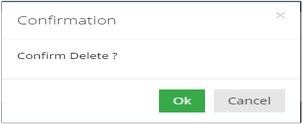
When prompted, click OK.
The user group has been deleted. Remember, any users assigned to this group are no longer assigned to it now. If necessary, assign these users to a new user group.